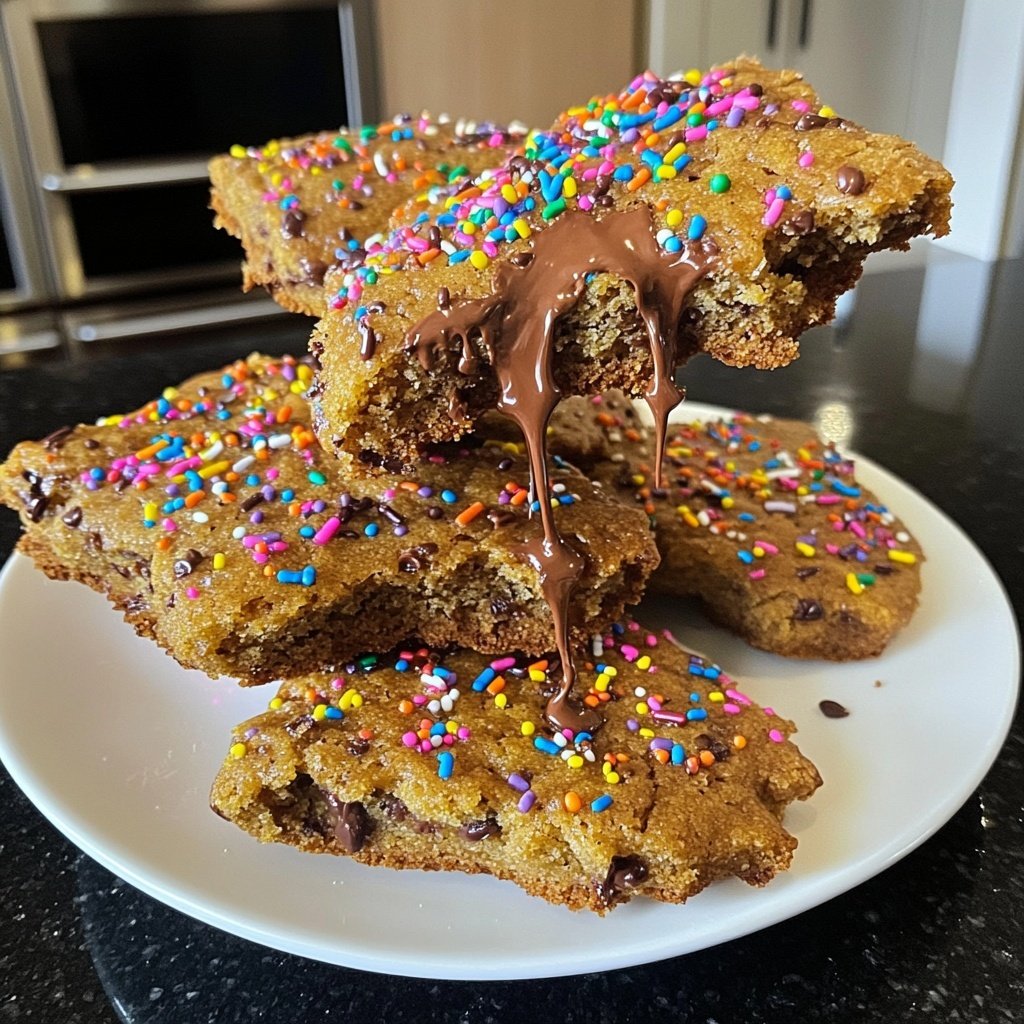
Made these for a cooking tasting contest at my church, but they were out before the contest even began! Dang!
Highlighted under: Warm & Wholesome
These delightful treats are sure to impress, and they disappeared faster than I could have imagined at the church cooking tasting contest!
Made these for a cooking tasting contest at my church, but they were out before the contest even began! Dang!
Why You'll Love This Recipe
- Irresistibly soft and fluffy texture
- Bursting with flavor from fresh ingredients
- Perfect for sharing at gatherings
The Perfect Treat for Any Occasion
These delightful treats are not just a hit at church gatherings; they are perfect for any occasion! Whether you’re hosting a birthday party, a holiday celebration, or simply looking for a sweet snack to enjoy at home, these treats will be a crowd-pleaser. Their soft and fluffy texture makes them irresistible, and with each bite, you will experience a burst of flavor that is sure to delight your taste buds.
What sets these treats apart is their versatility. You can easily customize them by adding your favorite ingredients, such as chocolate chips, nuts, or dried fruits. This way, you can create variations that suit different palates and dietary preferences, ensuring everyone leaves satisfied. With their simple yet delightful flavor profile, they are sure to become a staple in your baking repertoire.
Tips for Success
To achieve the best results, make sure to measure your ingredients accurately. Using a kitchen scale can help ensure precision, especially for dry ingredients like flour. Over-measuring can lead to dense treats rather than the light and fluffy texture we aim for. Additionally, it’s essential to use softened butter for the creaming stage, as this helps incorporate air into your mixture, resulting in a lighter final product.
Don’t skip the step of preheating your oven! An adequately heated oven will help your treats rise properly and bake evenly. Remember to check your treats a few minutes before the suggested baking time, as oven temperatures can vary. A toothpick inserted into the center should come out clean when they are done, ensuring a perfectly baked treat every time.
Storage and Serving Suggestions
Once baked, allow your treats to cool completely before storing them. They can be kept in an airtight container at room temperature for up to three days. If you want to keep them fresher for longer, consider refrigerating them, where they can last up to a week. For even longer storage, you can freeze them. Just be sure to wrap them well to prevent freezer burn.
These treats are best served slightly warm, but they are also delicious at room temperature. Consider pairing them with a scoop of ice cream or a dollop of whipped cream for an extra special treat. They also make a great addition to a dessert platter, allowing your guests to enjoy a variety of flavors and textures. No matter how you serve them, they are sure to be a hit!
Ingredients
Main Ingredients
- 2 cups all-purpose flour
- 1 cup sugar
- 1/2 cup unsalted butter, softened
- 1 cup milk
- 2 large eggs
- 2 tsp baking powder
- 1 tsp vanilla extract
- 1/2 tsp salt
Make sure all ingredients are at room temperature for best results.
Instructions
Preheat the oven
Preheat your oven to 350°F (175°C) and grease a baking dish.
Mix dry ingredients
In a bowl, mix together the flour, baking powder, and salt.
Cream butter and sugar
In another bowl, cream the softened butter and sugar until light and fluffy.
Combine wet ingredients
Add eggs and vanilla extract to the butter mixture, mixing well after each addition.
Combine mixtures
Gradually add the dry ingredients to the wet mixture, alternating with milk, and mix until just combined.
Bake
Pour the batter into the prepared baking dish and bake for 25 minutes or until a toothpick comes out clean.
Cool and serve
Allow to cool slightly before cutting into squares and serving.
Enjoy these delicious treats with friends and family!
Pro Tips
- For an extra touch, sprinkle powdered sugar on top before serving.
Nutritional Information
Understanding the nutritional value of your treats can help you make informed choices when serving them. Each serving of these delightful treats contains a balance of carbohydrates, proteins, and fats, making them a satisfying snack. While they do contain sugar and butter, portion control can allow for enjoyment without overindulging. Pairing them with fresh fruit or a protein-rich side can create a more balanced snack or dessert.
If you are looking for healthier options, consider substituting some of the all-purpose flour with whole wheat flour or adding in some ground oats for added fiber. You can also replace some sugar with natural sweeteners like honey or maple syrup, which can provide a unique flavor twist while being slightly healthier.
Frequently Asked Questions
Many home bakers may wonder about ingredient substitutions in this recipe. If you are out of eggs, you can use unsweetened applesauce or mashed bananas as a binding agent. For a dairy-free option, substitute regular milk with almond milk or coconut milk, which will still lend a lovely flavor to your treats. Always remember that substitutions may slightly alter the final texture and taste, so it may take a bit of experimentation to find the perfect mix.
Another common question is about the baking dish. A glass or metal baking dish can yield different results. Glass retains heat better, which may lead to a quicker baking time, while metal tends to bake evenly. If you’re unsure which to use, you can always line your baking dish with parchment paper to ensure easy removal and even baking, regardless of the material.
Questions About Recipes
→ Can I use whole wheat flour instead of all-purpose flour?
Yes, but the texture may be denser.
→ How can I make this recipe gluten-free?
Substitute with a gluten-free flour blend and ensure other ingredients are gluten-free.
→ Can I add chocolate chips to the batter?
Absolutely! Fold in 1 cup of chocolate chips for a delicious twist.
→ How do I store leftovers?
Store in an airtight container at room temperature for up to 3 days.
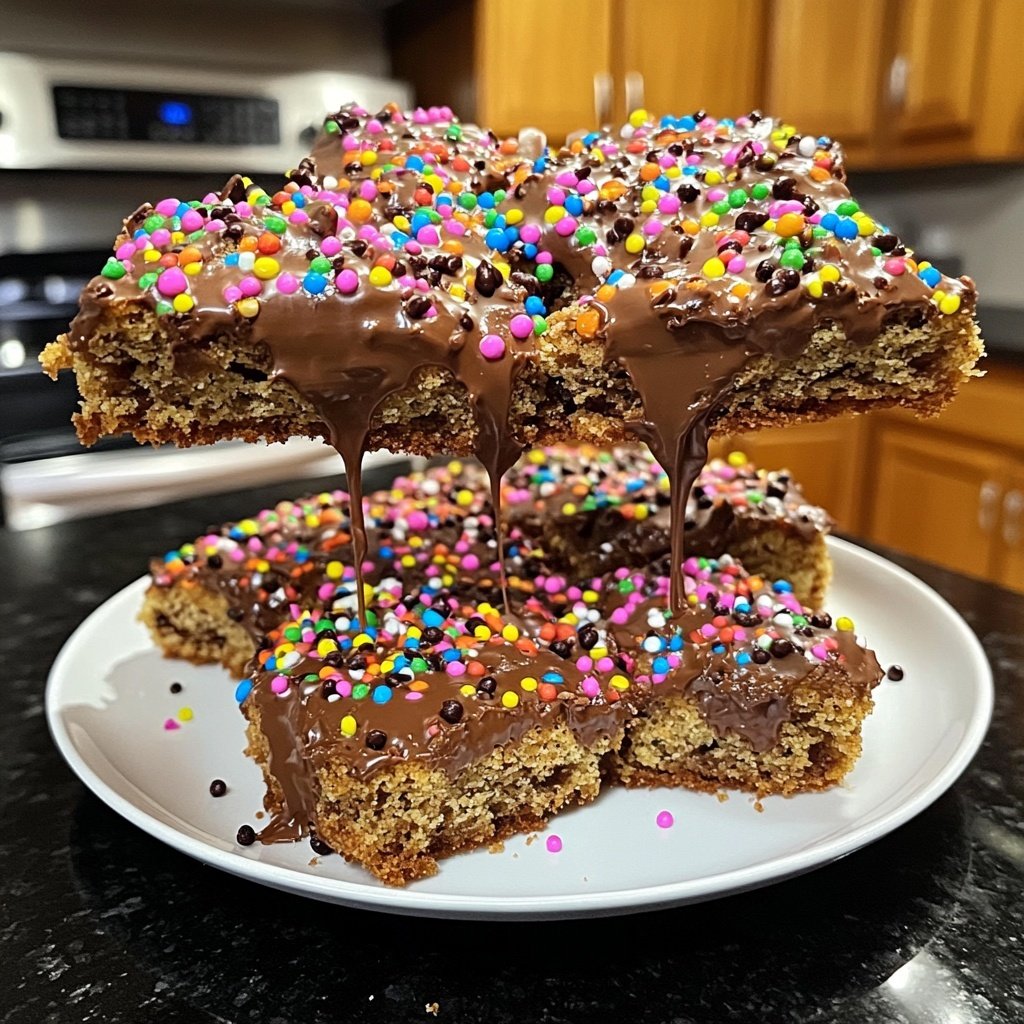
Made these for a cooking tasting contest at my church, but they were out before the contest even began! Dang!
Created by: Rosalie Mitchell
Recipe Type: Warm & Wholesome
Skill Level: Intermediate
Final Quantity: 12 servings
What You'll Need
Main Ingredients
- 2 cups all-purpose flour
- 1 cup sugar
- 1/2 cup unsalted butter, softened
- 1 cup milk
- 2 large eggs
- 2 tsp baking powder
- 1 tsp vanilla extract
- 1/2 tsp salt
How-To Steps
Preheat your oven to 350°F (175°C) and grease a baking dish.
In a bowl, mix together the flour, baking powder, and salt.
In another bowl, cream the softened butter and sugar until light and fluffy.
Add eggs and vanilla extract to the butter mixture, mixing well after each addition.
Gradually add the dry ingredients to the wet mixture, alternating with milk, and mix until just combined.
Pour the batter into the prepared baking dish and bake for 25 minutes or until a toothpick comes out clean.
Allow to cool slightly before cutting into squares and serving.
Extra Tips
- For an extra touch, sprinkle powdered sugar on top before serving.
Nutritional Breakdown (Per Serving)
- Calories: 250 kcal
- Total Fat: 10g
- Saturated Fat: 6g
- Cholesterol: 70mg
- Sodium: 150mg
- Total Carbohydrates: 36g
- Dietary Fiber: 1g
- Sugars: 15g
- Protein: 4g